 ケケンタ
ケケンタスクロール時に要素を固定表示したい……
ケケンタナビゲーションやサイドバーを常に表示したい……
今回はこのようなお悩みをお持ちの方へ向けて
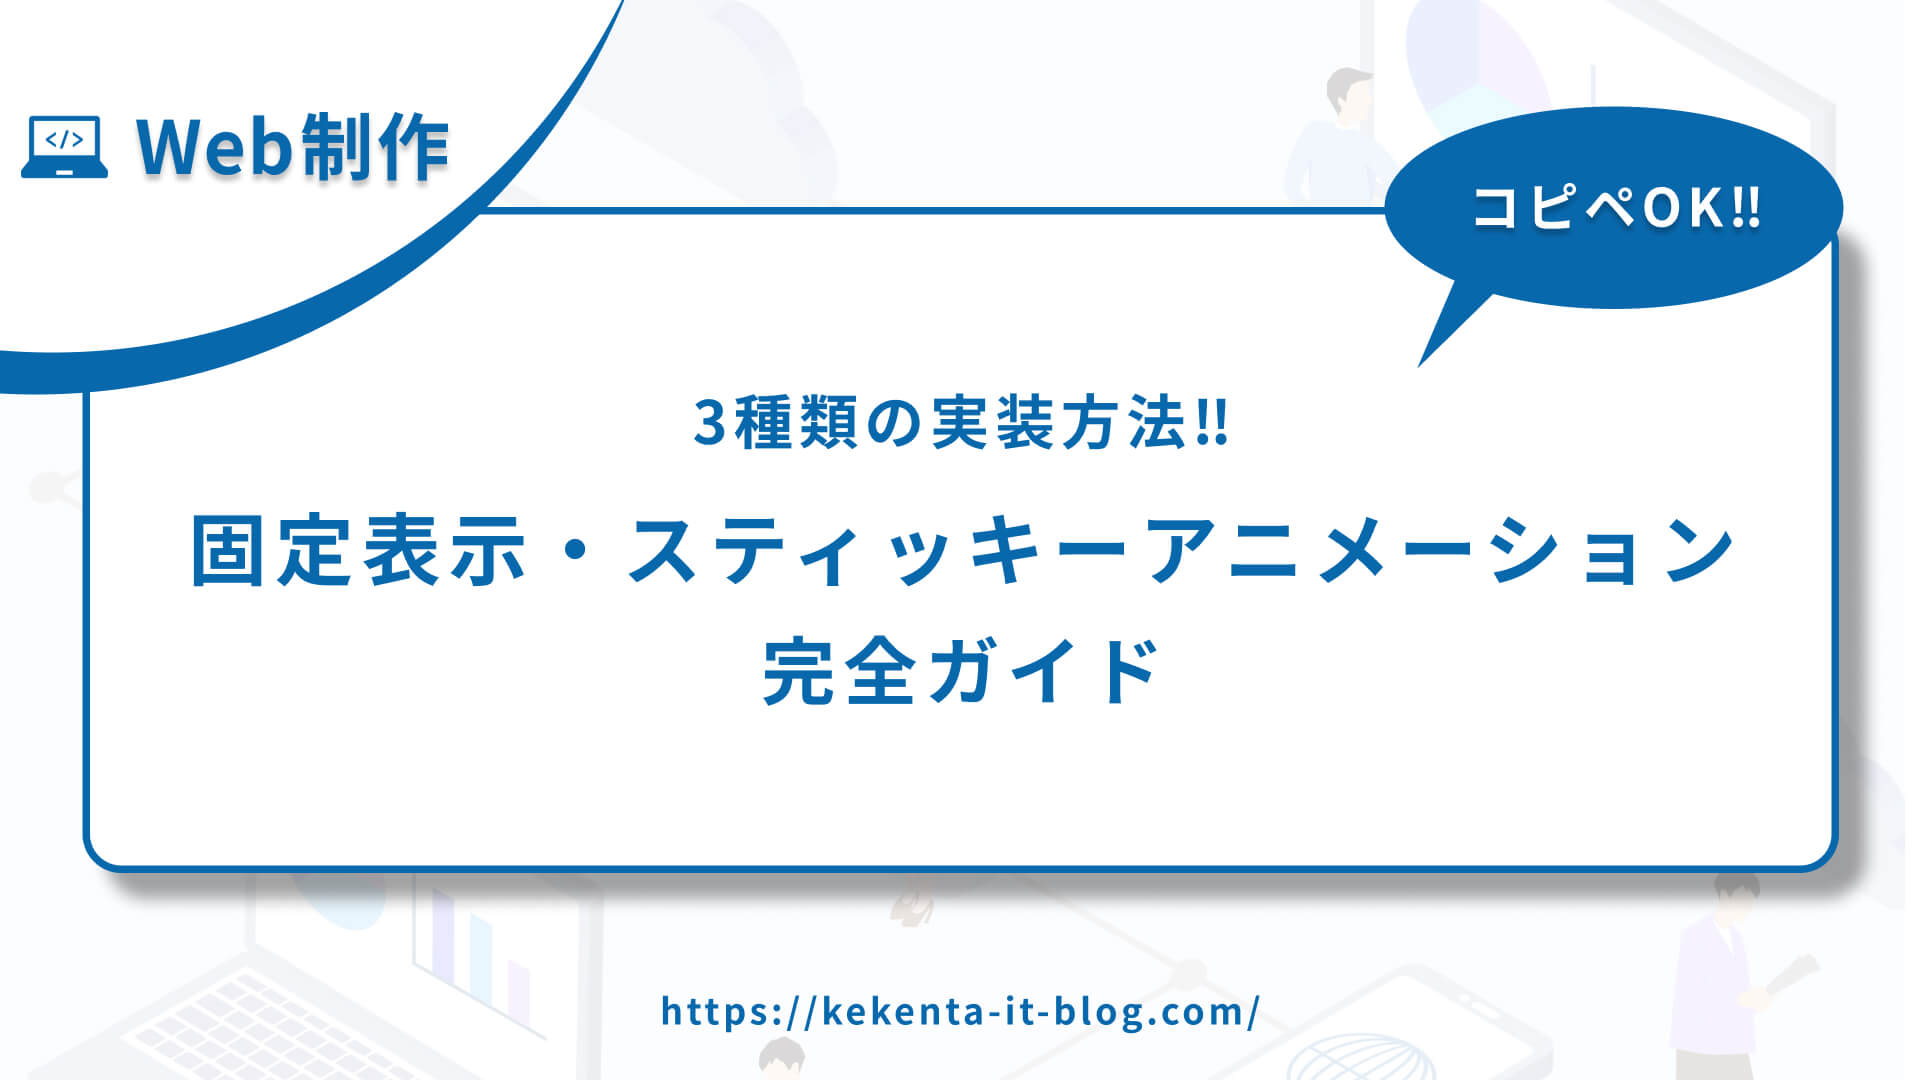
Web制作において人気の高いアニメーション効果
固定表示・スティッキーアニメーション
をご紹介します。
- 基本的な固定表示(position: sticky)
- ナビゲーション固定表示(ヘッダー固定)
- サイドバー固定表示(追従サイドバー)
 ケケンタ
ケケンタ特にナビゲーションの利便性向上やコンテンツの可読性向上には、固定表示・スティッキーアニメーションが非常に効果的です。この記事のコードをご活用いただきWeb制作の効率化に繋がれば何よりです。
なお、今回ご紹介するアニメーションはCSSのみで実装可能なので、javascriptは慣れていないという方でも安心してお使いいただけます!
あわせて読みたい
Webアニメーションの引き出しを増やしたい人におすすめの書籍


もしプログラミング学習やお仕事で運動不足が気になっているなら
連続屈伸運動がおすすめです!
ボタンにカーソルを合わせるだけで
カウントダウンが始まるタイマーをご用意してみました!
ケケンタ無理のない範囲で、ぜひ隙間時間に屈伸運動を取り入れてみて下さい!
タイマースタート
3:00

固定表示・スティッキーアニメーションとは
固定表示・スティッキーアニメーションは、スクロール時に特定の要素を画面の固定位置に留めるアニメーション効果です。ユーザーの利便性を向上させ、重要な要素へのアクセスを容易にするための手法です。
効果的な使用場面
適している場面
- ナビゲーションメニューの固定
- サイドバーの固定表示
- 戻るボタンの固定
- 検索バーの固定
- プログレスバーの固定
避けるべき場面
- 画面の大部分を占める要素
- モバイルでの画面スペース制限
- 読みやすさを重視する場面
- 過度に使用した場合
実装方法の比較
| アニメーション | 難易度 | 視覚的インパクト | パフォーマンス | ブラウザ対応 |
|---|---|---|---|---|
| 基本的な固定表示 | ⭐ | ⭐⭐ | ⭐⭐⭐⭐⭐ | ⭐⭐⭐⭐⭐ |
| ナビゲーション固定表示 | ⭐⭐ | ⭐⭐⭐ | ⭐⭐⭐⭐ | ⭐⭐⭐⭐⭐ |
| サイドバー固定表示 | ⭐⭐ | ⭐⭐⭐⭐ | ⭐⭐⭐⭐ | ⭐⭐⭐⭐ |
基本的な固定表示
① デモ
See the Pen 基本的な固定表示 by ケケンタ (@lgshifbg-the-looper) on CodePen.
- CSS position: stickyを使用
- シンプルな実装
- 高いパフォーマンス
- すべてのブラウザで対応
② HTML
<div class="sticky-container">
  <div class="content-section">
    <h2>スクロールしてください</h2>
    <p>下にスクロールすると固定表示が確認できます</p>
  </div>

  <div class="sticky-element">
    <div class="sticky-content">
      <h3>固定表示要素</h3>
      <p>この要素はスクロール時に固定されます</p>
    </div>
  </div>

  <div class="content-section">
    <h2>コンテンツセクション1</h2>
    <p>Lorem ipsum dolor sit amet, consectetur adipiscing elit. Sed do eiusmod tempor incididunt ut labore et dolore magna aliqua.</p>
    <p>Ut enim ad minim veniam, quis nostrud exercitation ullamco laboris nisi ut aliquip ex ea commodo consequat.</p>
  </div>

  <div class="content-section">
    <h2>コンテンツセクション2</h2>
    <p>Duis aute irure dolor in reprehenderit in voluptate velit esse cillum dolore eu fugiat nulla pariatur.</p>
    <p>Excepteur sint occaecat cupidatat non proident, sunt in culpa qui officia deserunt mollit anim id est laborum.</p>
  </div>

  <div class="content-section">
    <h2>コンテンツセクション3</h2>
    <p>Sed ut perspiciatis unde omnis iste natus error sit voluptatem accusantium doloremque laudantium.</p>
    <p>Totam rem aperiam, eaque ipsa quae ab illo inventore veritatis et quasi architecto beatae vitae dicta sunt explicabo.</p>
  </div>
</div>
③ CSS
.sticky-container {
  max-width: 1200px;
  margin: 0 auto;
  padding: 20px;
}

.content-section {
  margin-bottom: 3rem;
  padding: 2rem;
  background: #f8f9fa;
  border-radius: 8px;
}

.content-section h2 {
  color: #333;
  margin-bottom: 1rem;
}

.content-section p {
  color: #666;
  line-height: 1.6;
}

.sticky-element {
  position: sticky;
  top: 20px;
  z-index: 100;
  margin: 2rem 0;
}

.sticky-content {
  background: linear-gradient(135deg, #667eea 0%, #764ba2 100%);
  color: white;
  padding: 2rem;
  border-radius: 12px;
  box-shadow: 0 10px 30px rgba(0, 0, 0, 0.1);
  text-align: center;
}

.sticky-content h3 {
  font-size: 1.5rem;
  margin-bottom: 1rem;
}

.sticky-content p {
  font-size: 1rem;
  opacity: 0.9;
}

@media (max-width: 768px) {
  .sticky-element {
    top: 10px;
  }

  .sticky-content {
    padding: 1.5rem;
  }
}
⑤ カスタマイズ例
/* 固定位置の変更 */
.sticky-element {
  top: 50px;
}

/* 背景色の変更 */
.sticky-content {
  background: linear-gradient(135deg, #ff6b6b 0%, #4ecdc4 100%);
}

/* 影効果の強化 */
.sticky-content {
  box-shadow: 0 20px 50px rgba(0, 0, 0, 0.2);
}

/* 角丸の変更 */
.sticky-content {
  border-radius: 20px;
}
ナビゲーション固定表示
① デモ
See the Pen ナビゲーション固定表示 by ケケンタ (@lgshifbg-the-looper) on CodePen.
- ヘッダーナビゲーションの固定
- スクロール時の背景変化
- レスポンシブ対応
- ユーザビリティ向上
② HTML
<nav class="sticky-nav">
  <div class="nav-container">
    <div class="nav-logo">
      <h2>ロゴ</h2>
    </div>
    <ul class="nav-menu">
      <li><a href="#home">ホーム</a></li>
      <li><a href="#about">会社概要</a></li>
      <li><a href="#services">サービス</a></li>
      <li><a href="#contact">お問い合わせ</a></li>
    </ul>
    <div class="nav-toggle">
      <span></span>
      <span></span>
      <span></span>
    </div>
  </div>
</nav>

<div class="hero-section">
  <h1>ヒーローセクション</h1>
  <p>スクロールするとナビゲーションが固定されます</p>
</div>

<div class="content-sections">
  <section id="home" class="content-section">
    <h2>ホーム</h2>
    <p>Lorem ipsum dolor sit amet, consectetur adipiscing elit.</p>
  </section>

  <section id="about" class="content-section">
    <h2>会社概要</h2>
    <p>Sed do eiusmod tempor incididunt ut labore et dolore magna aliqua.</p>
  </section>

  <section id="services" class="content-section">
    <h2>サービス</h2>
    <p>Ut enim ad minim veniam, quis nostrud exercitation ullamco.</p>
  </section>

  <section id="contact" class="content-section">
    <h2>お問い合わせ</h2>
    <p>Duis aute irure dolor in reprehenderit in voluptate velit.</p>
  </section>
</div>
③ CSS
.sticky-nav {
  position: fixed;
  top: 0;
  left: 0;
  right: 0;
  background: rgba(255, 255, 255, 0.95);
  backdrop-filter: blur(10px);
  box-shadow: 0 2px 20px rgba(0, 0, 0, 0.1);
  z-index: 1000;
  transition: all 0.3s ease;
}

.nav-container {
  max-width: 1200px;
  margin: 0 auto;
  padding: 1rem 2rem;
  display: flex;
  justify-content: space-between;
  align-items: center;
}

.nav-logo h2 {
  color: #333;
  margin: 0;
  font-size: 1.5rem;
}

.nav-menu {
  display: flex;
  list-style: none;
  margin: 0;
  padding: 0;
  gap: 2rem;
}

.nav-menu a {
  color: #333;
  text-decoration: none;
  font-weight: 500;
  transition: color 0.3s ease;
}

.nav-menu a:hover {
  color: #667eea;
}

.nav-toggle {
  display: none;
  flex-direction: column;
  cursor: pointer;
}

.nav-toggle span {
  width: 25px;
  height: 3px;
  background: #333;
  margin: 3px 0;
  transition: 0.3s;
}

.hero-section {
  height: 100vh;
  background: linear-gradient(135deg, #667eea 0%, #764ba2 100%);
  display: flex;
  flex-direction: column;
  justify-content: center;
  align-items: center;
  color: white;
  text-align: center;
  padding: 2rem;
}

.hero-section h1 {
  font-size: 3rem;
  margin-bottom: 1rem;
}

.content-sections {
  max-width: 1200px;
  margin: 0 auto;
  padding: 2rem;
}

.content-section {
  min-height: 60vh;
  padding: 4rem 2rem;
  margin-bottom: 2rem;
  background: #f8f9fa;
  border-radius: 12px;
}

.content-section h2 {
  color: #333;
  margin-bottom: 1rem;
}

.content-section p {
  color: #666;
  line-height: 1.6;
}

@media (max-width: 768px) {
  .nav-menu {
    display: none;
  }

  .nav-toggle {
    display: flex;
  }

  .hero-section h1 {
    font-size: 2rem;
  }
}
⑤ カスタマイズ例
/* 背景色の変更 */
.sticky-nav {
  background: rgba(102, 126, 234, 0.95);
}

/* ロゴの色変更 */
.nav-logo h2 {
  color: white;
}

/* メニューアイテムの色変更 */
.nav-menu a {
  color: white;
}

/* ホバー効果の変更 */
.nav-menu a:hover {
  color: #ffd700;
}
サイドバー固定表示
① デモ
ウィンドウ下部の「0.5x」をクリックして動作をご確認ください。
See the Pen サイドバー固定表示 by ケケンタ (@lgshifbg-the-looper) on CodePen.
- サイドバーの固定表示
- メインコンテンツとの連動
- レスポンシブ対応
- 追従効果
② HTML
<div class="sidebar-layout">
  <aside class="sticky-sidebar">
    <div class="sidebar-content">
      <h3>サイドバー</h3>
      <ul class="sidebar-menu">
        <li><a href="#section1">セクション1</a></li>
        <li><a href="#section2">セクション2</a></li>
        <li><a href="#section3">セクション3</a></li>
        <li><a href="#section4">セクション4</a></li>
      </ul>
      <div class="sidebar-widget">
        <h4>ウィジェット</h4>
        <p>固定表示されるサイドバーです。</p>
      </div>
    </div>
  </aside>

  <main class="main-content">
    <section id="section1" class="content-section">
      <h2>セクション1</h2>
      <p>Lorem ipsum dolor sit amet, consectetur adipiscing elit.</p>
      <p>Sed do eiusmod tempor incididunt ut labore et dolore magna aliqua.</p>
    </section>

    <section id="section2" class="content-section">
      <h2>セクション2</h2>
      <p>Ut enim ad minim veniam, quis nostrud exercitation ullamco.</p>
      <p>Duis aute irure dolor in reprehenderit in voluptate velit.</p>
    </section>

    <section id="section3" class="content-section">
      <h2>セクション3</h2>
      <p>Excepteur sint occaecat cupidatat non proident.</p>
      <p>Sunt in culpa qui officia deserunt mollit anim id est laborum.</p>
    </section>

    <section id="section4" class="content-section">
      <h2>セクション4</h2>
      <p>Sed ut perspiciatis unde omnis iste natus error sit voluptatem.</p>
      <p>Accusantium doloremque laudantium, totam rem aperiam.</p>
    </section>
  </main>
</div>
③ CSS
.sidebar-layout {
  display: flex;
  max-width: 1400px;
  margin: 0 auto;
  gap: 2rem;
  padding: 2rem;
}

.sticky-sidebar {
  width: 300px;
  flex-shrink: 0;
}

.sidebar-content {
  position: sticky;
  top: 20px;
  background: white;
  border-radius: 12px;
  box-shadow: 0 10px 30px rgba(0, 0, 0, 0.1);
  padding: 2rem;
  height: fit-content;
}

.sidebar-content h3 {
  color: #333;
  margin-bottom: 1.5rem;
  font-size: 1.3rem;
}

.sidebar-menu {
  list-style: none;
  padding: 0;
  margin: 0 0 2rem 0;
}

.sidebar-menu li {
  margin-bottom: 0.5rem;
}

.sidebar-menu a {
  color: #666;
  text-decoration: none;
  padding: 0.5rem 0;
  display: block;
  transition: color 0.3s ease;
}

.sidebar-menu a:hover {
  color: #667eea;
}

.sidebar-widget {
  background: #f8f9fa;
  padding: 1.5rem;
  border-radius: 8px;
}

.sidebar-widget h4 {
  color: #333;
  margin-bottom: 1rem;
  font-size: 1.1rem;
}

.sidebar-widget p {
  color: #666;
  line-height: 1.6;
  font-size: 0.9rem;
}

.main-content {
  flex: 1;
}

.content-section {
  background: #f8f9fa;
  padding: 3rem;
  margin-bottom: 2rem;
  border-radius: 12px;
  min-height: 40vh;
}

.content-section h2 {
  color: #333;
  margin-bottom: 1.5rem;
}

.content-section p {
  color: #666;
  line-height: 1.6;
  margin-bottom: 1rem;
}

@media (max-width: 1024px) {
  .sidebar-layout {
    flex-direction: column;
  }

  .sticky-sidebar {
    width: 100%;
  }

  .sidebar-content {
    position: static;
  }
}
⑤ カスタマイズ例
/* サイドバーの幅変更 */
.sticky-sidebar {
  width: 250px;
}

/* 背景色の変更 */
.sidebar-content {
  background: linear-gradient(135deg, #667eea 0%, #764ba2 100%);
  color: white;
}

/* アクティブ状態のスタイル */
.sidebar-menu a.active {
  color: #ffd700;
  font-weight: bold;
}

/* 影効果の強化 */
.sidebar-content {
  box-shadow: 0 20px 50px rgba(0, 0, 0, 0.15);
}
まとめ
今回ご紹介した固定表示・スティッキーアニメーションは、Webサイトのユーザビリティを向上させる重要な要素です。
実装のコツ
- 適切な固定位置の設定
- レスポンシブ対応の実装
- パフォーマンスの最適化
- アクセシビリティの配慮
- 視覚的な一貫性の保持
避けるべきポイント
- 過度に多くの要素を固定
- モバイルでの画面スペース制限
- 読みやすさを阻害する実装
- パフォーマンスを考慮しない実装
- 過度な使用
おすすめの組み合わせ
- シンプルなサイト: 基本的な固定表示
- ビジネスサイト: ナビゲーション固定表示
- コンテンツサイト: サイドバー固定表示
ケケンタ特にナビゲーションの利便性向上やコンテンツの可読性向上では、固定表示・スティッキーアニメーションがユーザー体験を大きく左右します。この記事のコードをご活用いただき、より魅力的なWebサイトの制作に繋がれば何よりです。
あわせて読みたい
もっと効率的にWeb制作を学びたい方へ
Web制作の学習は楽しいものですが、一人で進めていると「これで合っているのかな?」と不安になることもありますよね。
僕も独学でWeb制作を学んできましたが、今思うと「もっと早く知りたかった」と思うことがたくさんあります。
特に以下のような方は、一度プログラミングスクールの利用を検討してみることをおすすめします。
- 学習の方向性に迷いがある方
- 効率的にスキルを身につけたい方
- 転職や副業でWeb制作を活用したい方
- 挫折経験がある方
忍者CODEなら、業界最安値で24時間サポート付きの学習環境が整っています。
関連記事
基本的なアニメーション
スクロール系
メニュー・タブ・ナビゲーション
\どれを読むか迷ったときのおすすめ‼/
フォーム・UI要素
\どれを読むか迷ったときのおすすめ‼/
ボタン・アイコン
\どれを読むか迷ったときのおすすめ‼/
テキスト
\どれを読むか迷ったときのおすすめ‼/
コメント