 ケケンタ
ケケンタフォーム送信ボタンにローディング効果を実装したい……


送信成功時のアニメーションを追加したい……
今回はこのようなお悩みをお持ちの方へ向けて
Web制作において重要なアニメーション効果
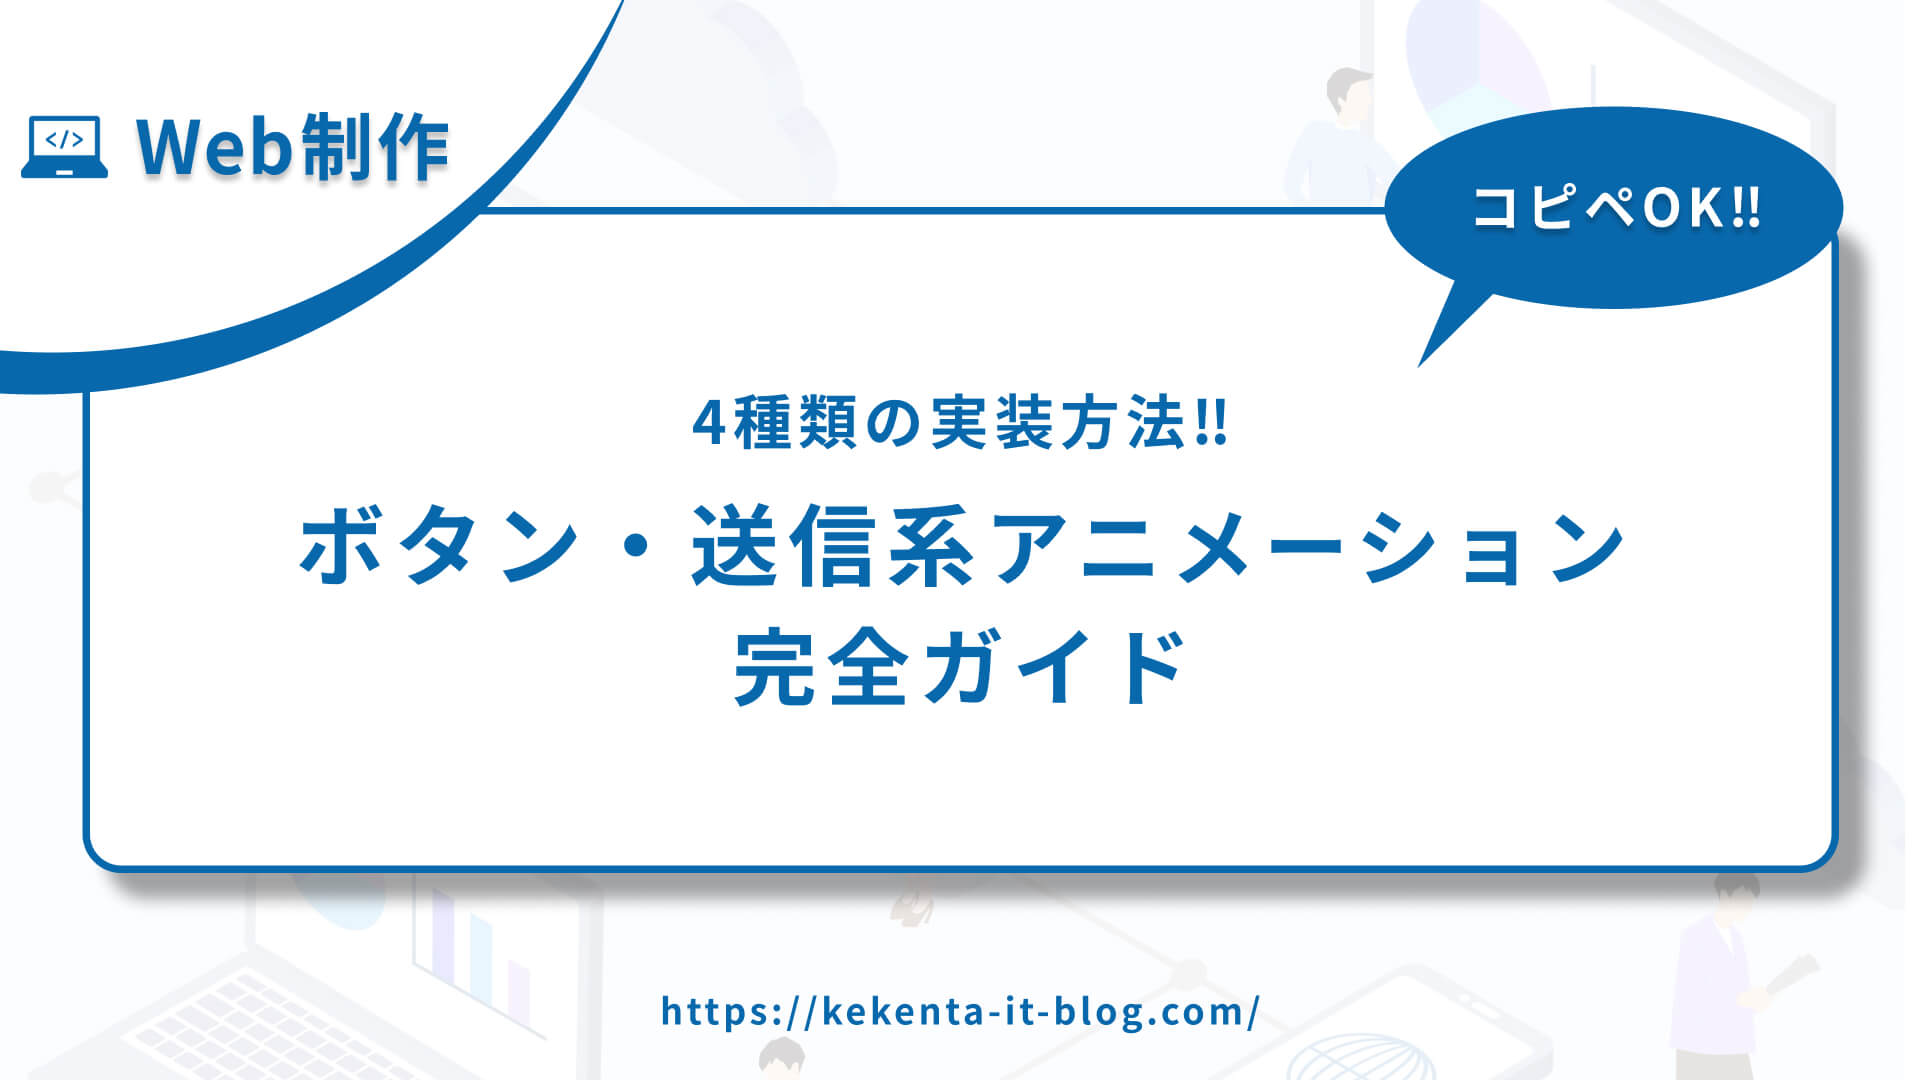
ボタン・送信系アニメーション
をご紹介します。
4種類のボタン・送信系アニメーションを完全網羅した実装なので、いままさに「フォーム送信のUXを改善したい!」という方は丸っとコピペしてどうぞご活用ください!
- ローディング(スピナーやプログレスバー)
- サクセス(成功時のアニメーション)
- エラー(エラー時の振動)
- ディセーブル(無効化時の変化)


特にフォーム送信やAPI通信を伴うボタンには、適切なフィードバックアニメーションが非常に効果的です。この記事のコードをご活用いただきWeb制作の効率化に繋がれば何よりです!
なお、今回ご紹介するアニメーションはCSSとJavaScriptを組み合わせて実装するので、より高度なインタラクションを実現できます。
あわせて読みたい
ボタン・送信系アニメーションとは
ボタン・送信系アニメーションは、フォーム送信やAPI通信時にユーザーに適切なフィードバックを提供するアニメーション効果です。ユーザビリティの向上と操作の透明性を同時に実現する効果的な手法です。
効果的な使用場面
〇 適している場面
- フォーム送信ボタン
- ログインボタン
- ファイルアップロード
- API通信ボタン
- 決済ボタン
✕ 避けるべき場面
- 即座に完了する処理
- 軽微な操作
- 過度に長いローディング時間
実装方法の比較
| アニメーション | 難易度 | 視覚的インパクト | パフォーマンス | ブラウザ対応 |
|---|---|---|---|---|
| ローディング | ⭐⭐ | ⭐⭐⭐⭐ | ⭐⭐⭐⭐ | ⭐⭐⭐⭐⭐ |
| サクセス | ⭐⭐ | ⭐⭐⭐⭐ | ⭐⭐⭐⭐⭐ | ⭐⭐⭐⭐⭐ |
| エラー | ⭐⭐ | ⭐⭐⭐ | ⭐⭐⭐⭐⭐ | ⭐⭐⭐⭐⭐ |
| ディセーブル | ⭐ | ⭐⭐ | ⭐⭐⭐⭐⭐ | ⭐⭐⭐⭐⭐ |
ローディング
① デモ
See the Pen 【ボタン・送信】ローディング by ケケンタ (@lgshifbg-the-looper) on CodePen.
- スピナーアニメーション
- テキストの変化
- ボタンの無効化
- プログレスバー表示
② HTML
<button class="loading-button" id="loadingBtn">
    <span class="button-text">送信する</span>
    <span class="loading-spinner"></span>
</button>
③ CSS
.loading-button {
    padding: 12px 24px;
    background: linear-gradient(135deg, #667eea 0%, #764ba2 100%);
    color: white;
    border: none;
    border-radius: 8px;
    font-size: 16px;
    font-weight: bold;
    cursor: pointer;
    transition: all 0.3s ease;
    position: relative;
    overflow: hidden;
    min-width: 120px;
}

.loading-button:disabled {
    cursor: not-allowed;
    opacity: 0.7;
}

.loading-spinner {
    display: none;
    width: 16px;
    height: 16px;
    border: 2px solid transparent;
    border-top: 2px solid white;
    border-radius: 50%;
    animation: spin 1s linear infinite;
    position: absolute;
    left: 50%;
    top: 50%;
    transform: translate(-50%, -50%);
}

.loading-button.loading .button-text {
    opacity: 0;
}

.loading-button.loading .loading-spinner {
    display: block;
}

@keyframes spin {
    0% { transform: translate(-50%, -50%) rotate(0deg); }
    100% { transform: translate(-50%, -50%) rotate(360deg); }
}
④ JavaScript
document.getElementById('loadingBtn').addEventListener('click', function() {
    const button = this;
    const originalText = button.querySelector('.button-text').textContent;

    // ローディング状態に変更
    button.classList.add('loading');
    button.disabled = true;
    button.querySelector('.button-text').textContent = '送信中...';

    // 3秒後に元に戻す(実際のAPI通信に置き換えてください)
    setTimeout(() => {
        button.classList.remove('loading');
        button.disabled = false;
        button.querySelector('.button-text').textContent = originalText;
    }, 3000);
});
⑤ カスタマイズ例
/* プログレスバー付きローディング */
.progress-loading-button {
    position: relative;
    overflow: hidden;
}

.progress-loading-button::before {
    content: '';
    position: absolute;
    top: 0;
    left: -100%;
    width: 100%;
    height: 100%;
    background: rgba(255, 255, 255, 0.2);
    transition: left 0.3s ease;
}

.progress-loading-button.loading::before {
    left: 0;
}

/* パルス効果付きローディング */
.pulse-loading-button {
    animation: none;
}

.pulse-loading-button.loading {
    animation: pulse 1.5s ease-in-out infinite;
}

@keyframes pulse {
    0%, 100% { transform: scale(1); }
    50% { transform: scale(1.05); }
}
サクセス
① デモ
See the Pen 【ボタン・送信】サクセス by ケケンタ (@lgshifbg-the-looper) on CodePen.
- チェックマークアニメーション
- 色の変化
- 成功メッセージの表示
- スムーズな状態遷移
② HTML
<button class="success-button" id="successBtn">
    <span class="button-text">送信する</span>
    <span class="success-icon">✓</span>
</button>
③ CSS
.success-button {
    padding: 12px 24px;
    background: linear-gradient(135deg, #667eea 0%, #764ba2 100%);
    color: white;
    border: none;
    border-radius: 8px;
    font-size: 16px;
    font-weight: bold;
    cursor: pointer;
    transition: all 0.3s ease;
    position: relative;
    overflow: hidden;
    min-width: 120px;
}

.success-icon {
    display: none;
    position: absolute;
    left: 50%;
    top: 50%;
    transform: translate(-50%, -50%);
    font-size: 18px;
    font-weight: bold;
    opacity: 0;
}

.success-button.success {
    background: linear-gradient(135deg, #4CAF50 0%, #45a049 100%);
    transform: scale(1.05);
}

.success-button.success .button-text {
    opacity: 0;
}

.success-button.success .success-icon {
    display: block;
    animation: successAppear 0.5s ease forwards;
}

@keyframes successAppear {
    0% {
        opacity: 0;
        transform: translate(-50%, -50%) scale(0);
    }
    50% {
        opacity: 1;
        transform: translate(-50%, -50%) scale(1.2);
    }
    100% {
        opacity: 1;
        transform: translate(-50%, -50%) scale(1);
    }
}
④ JavaScript
document.getElementById('successBtn').addEventListener('click', function() {
    const button = this;
    const originalText = button.querySelector('.button-text').textContent;

    // ローディング状態
    button.disabled = true;
    button.querySelector('.button-text').textContent = '送信中...';

    // 2秒後に成功状態
    setTimeout(() => {
        button.classList.add('success');
        button.querySelector('.button-text').textContent = '送信完了!';

        // 3秒後に元に戻す
        setTimeout(() => {
            button.classList.remove('success');
            button.disabled = false;
            button.querySelector('.button-text').textContent = originalText;
        }, 3000);
    }, 2000);
});
⑤ カスタマイズ例
/* バウンス効果付きサクセス */
.bounce-success-button.success {
    animation: bounce 0.6s ease;
}

@keyframes bounce {
    0%, 20%, 60%, 100% { transform: scale(1.05); }
    40% { transform: scale(1.1); }
    80% { transform: scale(1.05); }
}

/* フェード効果付きサクセス */
.fade-success-button.success .button-text {
    animation: fadeOut 0.3s ease forwards;
}

.fade-success-button.success .success-icon {
    animation: fadeIn 0.3s ease 0.3s forwards;
}

@keyframes fadeOut {
    to { opacity: 0; }
}

@keyframes fadeIn {
    to { opacity: 1; }
}
エラー
① デモ
See the Pen 【ボタン・送信】エラー by ケケンタ (@lgshifbg-the-looper) on CodePen.
- 振動アニメーション
- エラー色への変化
- エラーメッセージの表示
- 視覚的な警告効果
② HTML
<button class="error-button" id="errorBtn">
    <span class="button-text">送信する</span>
    <span class="error-icon">✗</span>
</button>
③ CSS
.error-button {
    padding: 12px 24px;
    background: linear-gradient(135deg, #667eea 0%, #764ba2 100%);
    color: white;
    border: none;
    border-radius: 8px;
    font-size: 16px;
    font-weight: bold;
    cursor: pointer;
    transition: all 0.3s ease;
    position: relative;
    overflow: hidden;
    min-width: 120px;
}

.error-icon {
    display: none;
    position: absolute;
    left: 50%;
    top: 50%;
    transform: translate(-50%, -50%);
    font-size: 18px;
    font-weight: bold;
    opacity: 0;
}

.error-button.error {
    background: linear-gradient(135deg, #ff6b6b 0%, #ee5a52 100%);
    animation: shake 0.5s ease-in-out;
}

.error-button.error .button-text {
    opacity: 0;
}

.error-button.error .error-icon {
    display: block;
    animation: errorAppear 0.5s ease forwards;
}

@keyframes shake {
    0%, 100% { transform: translateX(0); }
    10%, 30%, 50%, 70%, 90% { transform: translateX(-5px); }
    20%, 40%, 60%, 80% { transform: translateX(5px); }
}

@keyframes errorAppear {
    0% {
        opacity: 0;
        transform: translate(-50%, -50%) scale(0);
    }
    50% {
        opacity: 1;
        transform: translate(-50%, -50%) scale(1.2);
    }
    100% {
        opacity: 1;
        transform: translate(-50%, -50%) scale(1);
    }
}
④ JavaScript
document.getElementById('errorBtn').addEventListener('click', function() {
    const button = this;
    const originalText = button.querySelector('.button-text').textContent;

    // ローディング状態
    button.disabled = true;
    button.querySelector('.button-text').textContent = '送信中...';

    // 2秒後にエラー状態
    setTimeout(() => {
        button.classList.add('error');
        button.querySelector('.button-text').textContent = 'エラーが発生しました';

        // 3秒後に元に戻す
        setTimeout(() => {
            button.classList.remove('error');
            button.disabled = false;
            button.querySelector('.button-text').textContent = originalText;
        }, 3000);
    }, 2000);
});
⑤ カスタマイズ例
/* パルス効果付きエラー */
.pulse-error-button.error {
    animation: shake 0.5s ease-in-out, pulse 1s ease-in-out 0.5s infinite;
}

@keyframes pulse {
    0%, 100% { opacity: 1; }
    50% { opacity: 0.7; }
}

/* 回転効果付きエラー */
.rotate-error-button.error .error-icon {
    animation: rotate 0.5s ease-in-out;
}

@keyframes rotate {
    0% { transform: translate(-50%, -50%) rotate(0deg); }
    100% { transform: translate(-50%, -50%) rotate(360deg); }
}
ディセーブル
① デモ
See the Pen 【ボタン・送信】ディセーブル by ケケンタ (@lgshifbg-the-looper) on CodePen.
- 透明度の変化
- カーソルの変更
- グレーアウト効果
- 無効化の視覚的表現
② HTML
<button class="disable-button" id="disableBtn">
    送信する
</button>
③ CSS
.disable-button {
    padding: 12px 24px;
    background: linear-gradient(135deg, #667eea 0%, #764ba2 100%);
    color: white;
    border: none;
    border-radius: 8px;
    font-size: 16px;
    font-weight: bold;
    cursor: pointer;
    transition: all 0.3s ease;
    position: relative;
    overflow: hidden;
}

.disable-button:disabled {
    background: #cccccc;
    color: #666666;
    cursor: not-allowed;
    opacity: 0.6;
    transform: scale(0.98);
    box-shadow: none;
}

.disable-button:disabled:hover {
    transform: scale(0.98);
    box-shadow: none;
}

.disable-button:not(:disabled):hover {
    transform: scale(1.05);
    box-shadow: 0 4px 8px rgba(0, 0, 0, 0.2);
}
④ JavaScript
document.getElementById('disableBtn').addEventListener('click', function() {
    const button = this;
    const originalText = button.textContent;

    // ボタンを無効化
    button.disabled = true;
    button.textContent = '送信不可';

    // 3秒後に有効化
    setTimeout(() => {
        button.disabled = false;
        button.textContent = originalText;
    }, 3000);
});
⑤ カスタマイズ例
/* フェード効果付きディセーブル */
.fade-disable-button:disabled {
    animation: fadeDisable 0.3s ease forwards;
}

@keyframes fadeDisable {
    to {
        opacity: 0.5;
        filter: grayscale(100%);
    }
}

/* スライド効果付きディセーブル */
.slide-disable-button:disabled {
    transform: translateY(2px);
    box-shadow: inset 0 2px 4px rgba(0, 0, 0, 0.2);
}

/* ボーダー効果付きディセーブル */
.border-disable-button:disabled {
    border: 2px solid #cccccc;
    background: #f5f5f5;
    color: #999999;
}
まとめ


今回ご紹介した4種類のボタン・送信系アニメーションはいかがでしたでしょうか?
特にフォーム送信やAPI通信を伴うボタンには、適切なフィードバックアニメーションが非常に重要です。ユーザーに現在の状態を明確に伝えることで、UXの大幅な向上が期待できます。
実装のポイント
- ローディング:処理中であることを明確に伝える
- サクセス:成功を視覚的に表現する
- エラー:問題があることを分かりやすく示す
- ディセーブル:操作不可であることを理解させる
これらのアニメーションを組み合わせることで、より洗練されたユーザーインターフェースを実現できます。
今回ご紹介したコードは、実際のプロジェクトでもすぐにご活用いただけます。ぜひお試しください!
あわせて読みたい
もっと効率的にWeb制作を学びたい方へ
Web制作の学習は楽しいものですが、一人で進めていると「これで合っているのかな?」と不安になることもありますよね。
僕も独学でWeb制作を学んできましたが、今思うと「もっと早く知りたかった」と思うことがたくさんあります。
特に以下のような方は、一度プログラミングスクールの利用を検討してみることをおすすめします。
- 学習の方向性に迷いがある方
- 効率的にスキルを身につけたい方
- 転職や副業でWeb制作を活用したい方
- 挫折経験がある方
忍者CODEなら、業界最安値で24時間サポート付きの学習環境が整っています。

関連記事
基本的なアニメーション
スクロール系
メニュー・タブ・ナビゲーション
\どれを読むか迷ったときのおすすめ‼/
フォーム・UI要素
\どれを読むか迷ったときのおすすめ‼/
ボタン・アイコン
\どれを読むか迷ったときのおすすめ‼/
テキスト
\どれを読むか迷ったときのおすすめ‼/


コメント