 ケケンタ
ケケンタボタンにホバー効果を実装したい……


リンクをもっと魅力的にしたい……
今回はこのようなお悩みをお持ちの方へ向けて
Web制作において人気の高いアニメーション効果
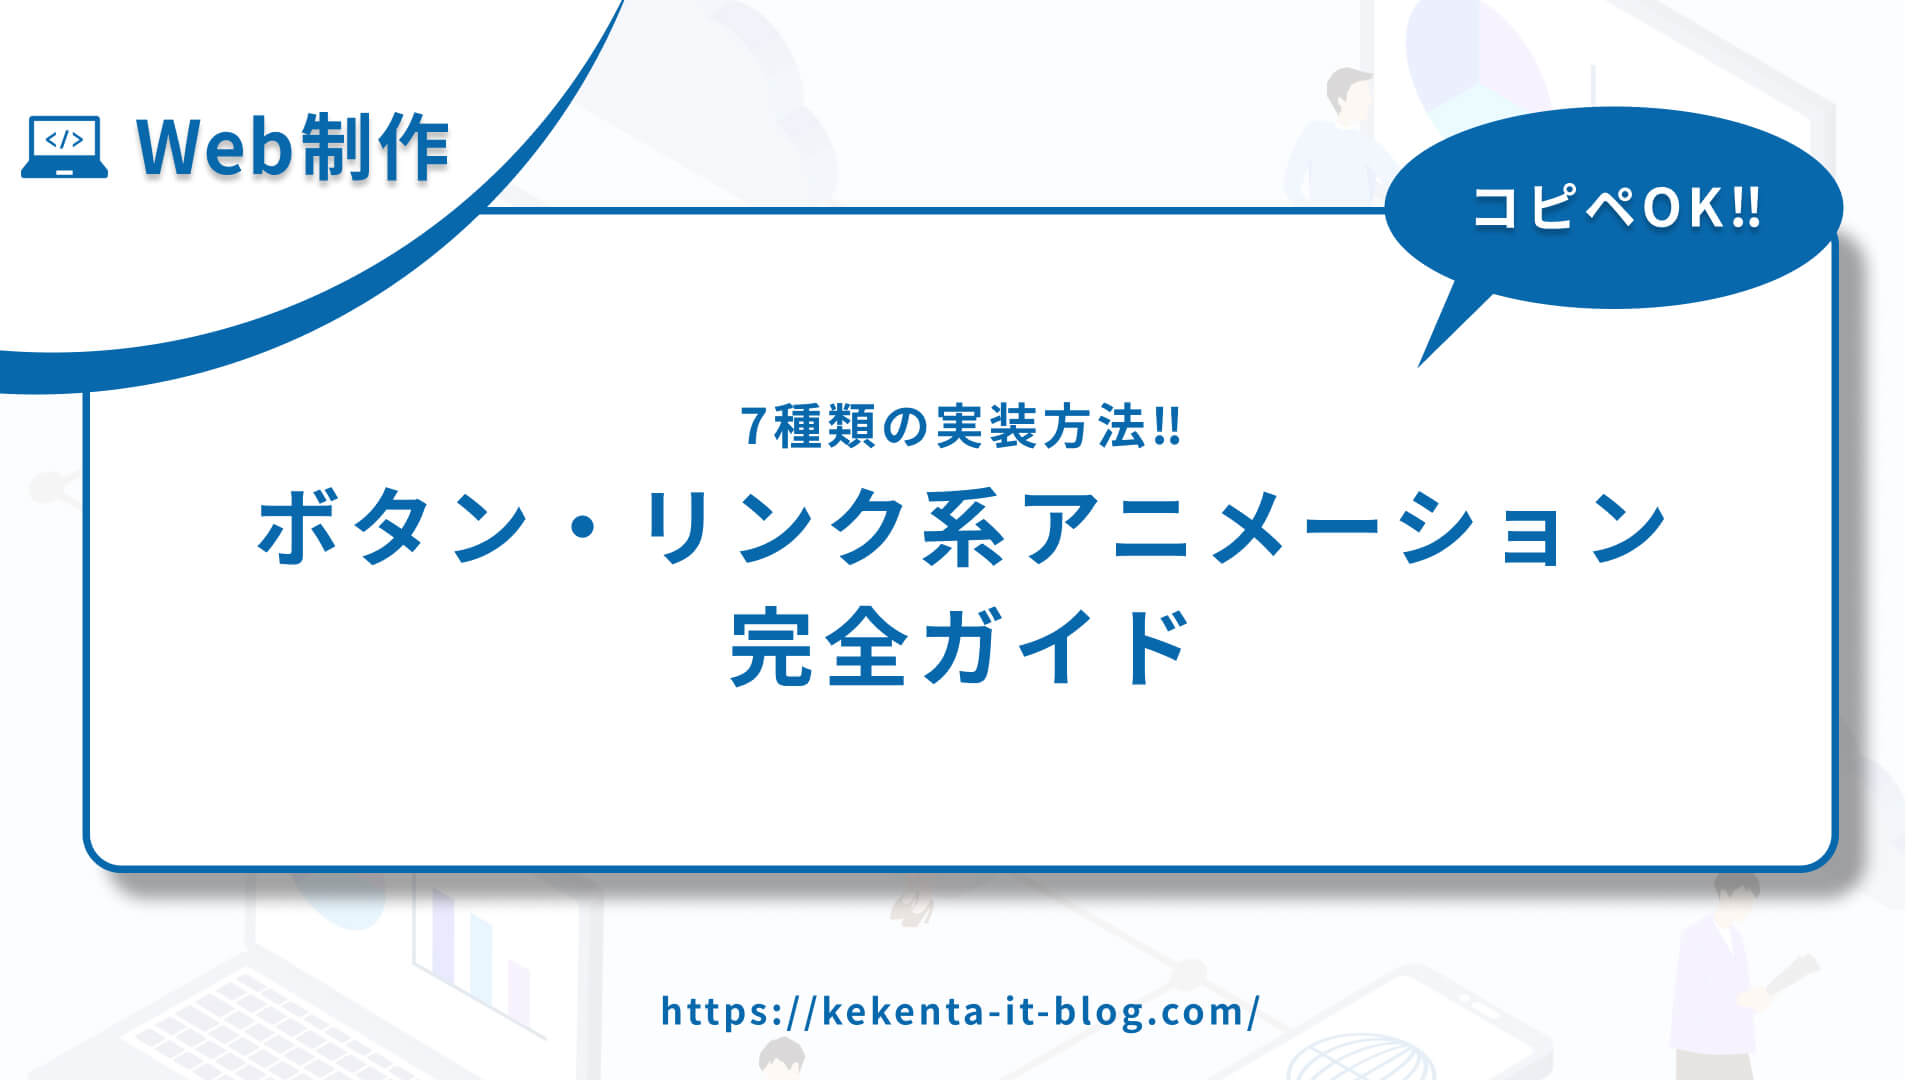
ボタン・リンク系アニメーション
をご紹介します。
7種類のボタン・リンク系アニメーションを完全網羅した実装です! いますぐ「ホバー効果を実装しないといけない!」という方はぜひコピペでご活用ください!
- スケール(ホバー時に拡大/縮小)
- カラー変化(背景色やテキスト色の変化)
- ボーダー(下線や枠線のアニメーション)
- シャドウ(影の変化)
- 回転(要素の回転)
- スライド(背景がスライド)
- リップル効果(タップ時の波紋)


特にCTAボタンやナビゲーションリンクには、ホバー効果が非常に効果的です。この記事のコードをご活用いただきWeb制作の効率化に繋がれば何よりです。
なお、今回ご紹介するアニメーションは「⑦リップル効果」以外はCSSのみで実装できるので、JavaScriptが苦手な方でも安心してご利用いただけます。
あわせて読みたい
ボタン・リンク系アニメーションとは
ボタン・リンク系アニメーションは、ユーザーのマウスホバーやクリック時に要素が変化するアニメーション効果です。ユーザビリティの向上と視覚的な魅力を同時に実現する効果的な手法です。
効果的な使用場面
適している場面
- CTAボタン(Call to Action)
- ナビゲーションメニュー
- カードのリンク
- フォームの送信ボタン
- ソーシャルメディアリンク
避けるべき場面
- 重要な情報の表示部分
- 頻繁にクリックされる要素(過度なアニメーション)
- アクセシビリティを重視する場面
実装方法の比較
| アニメーション | 難易度 | 視覚的インパクト | パフォーマンス | ブラウザ対応 |
|---|---|---|---|---|
| スケール | ⭐ | ⭐⭐⭐ | ⭐⭐⭐⭐⭐ | ⭐⭐⭐⭐⭐ |
| カラー変化 | ⭐ | ⭐⭐ | ⭐⭐⭐⭐⭐ | ⭐⭐⭐⭐⭐ |
| ボーダー | ⭐⭐ | ⭐⭐⭐ | ⭐⭐⭐⭐ | ⭐⭐⭐⭐⭐ |
| シャドウ | ⭐⭐ | ⭐⭐⭐ | ⭐⭐⭐⭐ | ⭐⭐⭐⭐⭐ |
| 回転 | ⭐⭐ | ⭐⭐⭐⭐ | ⭐⭐⭐⭐ | ⭐⭐⭐⭐ |
| スライド | ⭐⭐⭐ | ⭐⭐⭐⭐ | ⭐⭐⭐ | ⭐⭐⭐⭐ |
| リップル効果 | ⭐⭐⭐⭐ | ⭐⭐⭐⭐⭐ | ⭐⭐⭐ | ⭐⭐⭐⭐ |
スケール
① デモ
See the Pen 【ボタン・リンク】スケール by ケケンタ (@lgshifbg-the-looper) on CodePen.
- シンプルで分かりやすい実装
- 高いパフォーマンス
- すべてのブラウザで対応
② HTML
<button class="scale-button">
    スケールボタン
</button>
③ CSS
.scale-button {
    padding: 12px 24px;
    background: linear-gradient(135deg, #667eea 0%, #764ba2 100%);
    color: white;
    border: none;
    border-radius: 8px;
    font-size: 16px;
    font-weight: bold;
    cursor: pointer;
    transition: transform 0.3s ease;
}

.scale-button:hover {
    transform: scale(1.05);
}

.scale-button:active {
    transform: scale(0.95);
}
④ カスタマイズ例
/* 大きなスケール効果 */
.scale-button-large:hover {
    transform: scale(1.1);
}

/* 小さなスケール効果 */
.scale-button-small:hover {
    transform: scale(1.02);
}

/* スケール + 回転 */
.scale-button-rotate:hover {
    transform: scale(1.05) rotate(5deg);
}
カラー変化
① デモ
See the Pen 【ボタン・リンク】カラー変化 by ケケンタ (@lgshifbg-the-looper) on CodePen.
- 背景色とテキスト色の変化
- グラデーションの変化
- スムーズな色の遷移
② HTML
<button class="color-button">
    カラーボタン
</button>
③ CSS
.color-button {
    padding: 12px 24px;
    background: linear-gradient(135deg, #667eea 0%, #764ba2 100%);
    color: white;
    border: none;
    border-radius: 8px;
    font-size: 16px;
    font-weight: bold;
    cursor: pointer;
    transition: all 0.3s ease;
    position: relative;
    overflow: hidden;
}

.color-button::before {
    content: '';
    position: absolute;
    top: 0;
    left: 0;
    width: 100%;
    height: 100%;
    background: linear-gradient(135deg, #f093fb 0%, #f5576c 100%);
    opacity: 0;
    transition: opacity 0.3s ease;
    z-index: -1;
}

.color-button:hover::before {
    opacity: 1;
}

.color-button:hover {
    transform: translateY(-2px);
}
④ カスタマイズ例
/* テキスト色のみ変化 */
.color-text-button:hover {
    color: #ff6b6b;
}

/* 単色背景の変化(transitionが効く) */
.color-bg-button {
    background: #667eea;
    transition: background 0.3s ease;
}

.color-bg-button:hover {
    background: #ff6b6b;
}

/* グラデーション変化(複数レイヤー方式) */
.color-gradient-button {
    position: relative;
    overflow: hidden;
}

.color-gradient-button::before {
    content: '';
    position: absolute;
    top: 0;
    left: 0;
    width: 100%;
    height: 100%;
    background: linear-gradient(135deg, #4facfe 0%, #00f2fe 100%);
    opacity: 0;
    transition: opacity 0.3s ease;
    z-index: -1;
}

.color-gradient-button:hover::before {
    opacity: 1;
}
ボーダー
① デモ
See the Pen 【ボタン・リンク】ボーダー by ケケンタ (@lgshifbg-the-looper) on CodePen.
- 下線のアニメーション
- 枠線の変化
- 角から広がるボーダー
- 複数のボーダー効果を組み合わせ
② HTML
<button class="border-button">
    ボーダーボタン
</button>
③ CSS
.border-button {
    padding: 12px 24px;
    background: transparent;
    color: #667eea;
    border: 2px solid #667eea;
    font-size: 16px;
    font-weight: bold;
    cursor: pointer;
    transition: all 0.3s ease;
    position: relative;
    overflow: hidden;
}

.border-button {
    border: none;
    position: relative;
}

.border-button::before {
    content: '';
    position: absolute;
    top: 0;
    left: 0;
    width: 100%;
    height: 2px;
    background: #667eea;
    transform: scaleX(0);
    transform-origin: left;
    transition: transform 0.3s ease;
}

.border-button::after {
    content: '';
    position: absolute;
    top: 0;
    right: 0;
    width: 2px;
    height: 100%;
    background: #ff6b6b;
    transform: scaleY(0);
    transform-origin: top;
    transition: transform 0.3s ease;
}

.border-button:hover::before {
    transform: scaleX(1);
}

.border-button:hover::after {
    transform: scaleY(1);
}
④ カスタマイズ例
/* 下線アニメーション */
.underline-button {
    border: none;
    border-bottom: 2px solid transparent;
    transition: border-bottom-color 0.3s ease;
}

.underline-button:hover {
    border-bottom-color: #667eea;
}

/* 枠線拡大 */
.border-expand-button {
    transition: border-width 0.3s ease, transform 0.3s ease;
}

.border-expand-button:hover {
    border-width: 4px;
    transform: scale(1.05);
}

/* グラデーションボーダー */
.gradient-border-button {
    border: none;
    background: linear-gradient(white, white) padding-box,
                linear-gradient(135deg, #667eea, #ff6b6b) border-box;
    border: 2px solid transparent;
    transition: all 0.3s ease;
}

.gradient-border-button:hover {
    background: linear-gradient(white, white) padding-box,
                linear-gradient(135deg, #ff6b6b, #667eea) border-box;
    transform: translateY(-2px);
}
シャドウ
① デモ
See the Pen 【ボタン・リンク】シャドウ by ケケンタ (@lgshifbg-the-looper) on CodePen.
- 影の変化で浮き上がり効果
- 3D的な立体感
- 高級感のある演出
② HTML
<button class="shadow-button">
    シャドウボタン
</button>
③ CSS
.shadow-button {
    padding: 12px 24px;
    background: linear-gradient(135deg, #667eea 0%, #764ba2 100%);
    color: white;
    border: none;
    border-radius: 8px;
    font-size: 16px;
    font-weight: bold;
    cursor: pointer;
    transition: all 0.3s ease;
    box-shadow: 0 4px 15px rgba(102, 126, 234, 0.4);
}

.shadow-button:hover {
    box-shadow: 0 8px 25px rgba(102, 126, 234, 0.6);
    transform: translateY(-2px);
}

.shadow-button:active {
    box-shadow: 0 2px 10px rgba(102, 126, 234, 0.4);
    transform: translateY(0);
}
④ カスタマイズ例
/* 大きなシャドウ */
.shadow-large-button:hover {
    box-shadow: 0 12px 35px rgba(102, 126, 234, 0.8);
}

/* カラフルなシャドウ */
.shadow-colorful-button:hover {
    box-shadow: 0 8px 25px rgba(255, 107, 107, 0.6);
}

/* 内側シャドウ */
.shadow-inset-button:hover {
    box-shadow: inset 0 2px 10px rgba(0, 0, 0, 0.3);
}
回転
① デモ
See the Pen 【ボタン・リンク】回転 by ケケンタ (@lgshifbg-the-looper) on CodePen.
- 要素の回転アニメーション
- 3D効果
- 動的な演出
② HTML
<button class="rotate-button">
    <span class="button-text">回転ボタン</span>
</button>
③ CSS
.rotate-button {
    padding: 12px 24px;
    background: linear-gradient(135deg, #667eea 0%, #764ba2 100%);
    color: white;
    border: none;
    border-radius: 8px;
    font-size: 16px;
    font-weight: bold;
    cursor: pointer;
    transition: all 0.3s ease;
    perspective: 1000px;
}

.rotate-button:hover {
    transform: rotateY(10deg) rotateX(5deg);
    box-shadow: 0 8px 25px rgba(102, 126, 234, 0.6);
}

.button-text {
    display: inline-block;
    transition: transform 0.3s ease;
}

.rotate-button:hover .button-text {
    transform: rotate(5deg);
}
④ カスタマイズ例
/* 360度回転 */
.rotate-360-button:hover {
    transform: rotate(360deg);
}

/* Y軸回転 */
.rotate-y-button:hover {
    transform: rotateY(180deg);
}

/* 連続回転 */
.rotate-continuous-button:hover {
    animation: rotate 1s linear infinite;
}

@keyframes rotate {
    from { transform: rotate(0deg); }
    to { transform: rotate(360deg); }
}
スライド
① デモ
See the Pen 【ボタン・リンク】スライド by ケケンタ (@lgshifbg-the-looper) on CodePen.
- 背景がスライド
- テキストがスライド
- 複雑なスライド効果
② HTML
<button class="slide-button">
    <span class="slide-text">スライドボタン</span>
</button>
③ CSS
.slide-button {
    padding: 12px 24px;
    background: transparent;
    color: #667eea;
    border: 2px solid #667eea;
    border-radius: 8px;
    font-size: 16px;
    font-weight: bold;
    cursor: pointer;
    transition: all 0.3s ease;
    position: relative;
    overflow: hidden;
}

.slide-button::before {
    content: '';
    position: absolute;
    top: 0;
    left: -100%;
    width: 100%;
    height: 100%;
    background: #667eea;
    transition: left 0.3s ease;
    z-index: -1;
}

.slide-text {
    position: relative;
    z-index: 1;
    transition: transform 0.3s ease;
}

.slide-button:hover::before {
    left: 0;
}

.slide-button:hover .slide-text {
    transform: translateX(5px);
    color: white;
}
④ カスタマイズ例
/* 上からスライド */
.slide-top-button::before {
    top: -100%;
    left: 0;
    transition: top 0.3s ease;
}

.slide-top-button:hover::before {
    top: 0;
}

/* 対角線スライド */
.slide-diagonal-button::before {
    transform: translateX(-100%) translateY(-100%);
    transition: all 0.3s ease;
}

.slide-diagonal-button:hover::before {
    transform: translateX(0) translateY(0);
}
リップル効果
① デモ
See the Pen 【ボタン・リンク】リップル効果 by ケケンタ (@lgshifbg-the-looper) on CodePen.
- タップ時の波紋効果
- マテリアルデザイン風
- インタラクティブな体験
② HTML
<button class="ripple-button">
    リップルボタン
</button>
③ CSS
.ripple-button {
    padding: 12px 24px;
    background: linear-gradient(135deg, #667eea 0%, #764ba2 100%);
    color: white;
    border: none;
    border-radius: 8px;
    font-size: 16px;
    font-weight: bold;
    cursor: pointer;
    position: relative;
    overflow: hidden;
    transition: all 0.3s ease;
}

.ripple-button::before {
    content: '';
    position: absolute;
    top: 50%;
    left: 50%;
    width: 0;
    height: 0;
    border-radius: 50%;
    background: rgba(255, 255, 255, 0.3);
    transform: translate(-50%, -50%);
    transition: width 0.6s, height 0.6s;
}

.ripple-button:active::before {
    width: 300px;
    height: 300px;
}
④ JavaScript
class RippleButton {
    constructor(button) {
        this.button = button;
        this.init();
    }

    init() {
        this.button.addEventListener('click', (e) => {
            this.createRipple(e);
        });
    }

    createRipple(event) {
        const ripple = document.createElement('span');
        const rect = this.button.getBoundingClientRect();
        const size = Math.max(rect.width, rect.height);
        const x = event.clientX - rect.left - size / 2;
        const y = event.clientY - rect.top - size / 2;

        ripple.style.width = ripple.style.height = size + 'px';
        ripple.style.left = x + 'px';
        ripple.style.top = y + 'px';
        ripple.classList.add('ripple');

        this.button.appendChild(ripple);

        setTimeout(() => {
            ripple.remove();
        }, 600);
    }
}

// 初期化
document.querySelectorAll('.ripple-button').forEach(button => {
    new RippleButton(button);
});
⑤ 追加CSS
.ripple {
    position: absolute;
    border-radius: 50%;
    background: rgba(255, 255, 255, 0.3);
    transform: scale(0);
    animation: ripple-animation 0.6s linear;
    pointer-events: none;
}

@keyframes ripple-animation {
    to {
        transform: scale(4);
        opacity: 0;
    }
}

/* 以下は削除
.ripple-button::before {
    content: '';
    position: absolute;
    top: 50%;
    left: 50%;
    width: 0;
    height: 0;
    border-radius: 50%;
    background: rgba(255, 255, 255, 0.3);
    transform: translate(-50%, -50%);
    transition: width 0.6s, height 0.6s;
}

.ripple-button:active::before {
    width: 300px;
    height: 300px;
}
*/
まとめ


今回ご紹介した7種類のボタン・リンク系アニメーションはいかがでしたでしょうか?
それぞれのアニメーション効果には特徴があり、用途に応じて使い分けることで、より魅力的なWebサイトを作成できます。
用途別おすすめアニメーション
- CTAボタン: スケール or シャドウ
- ナビゲーション: カラー変化 or ボーダー
- カードリンク: スライド or 回転
- フォームボタン: リップル効果
- ソーシャルリンク: 回転 or スケール
パフォーマンスのポイント
- アニメーション時間は300ms以下を推奨
transformとopacityを使用してGPU加速- 過度なアニメーションは避ける
- アクセシビリティを考慮する
カスタマイズのコツ
- 色やサイズを調整してサイトのテーマに合わせる
- 複数の効果を組み合わせてオリジナルな演出を作る
- イージング関数を調整して自然な動きを実現
- レスポンシブ対応を忘れずに
これらのボタン・リンク系アニメーションを組み合わせることで、さらに魅力的なインターフェースを作成できます。ぜひご自身のプロジェクトに合わせてカスタマイズしてみてください!
あわせて読みたい
もっと効率的にWeb制作を学びたい方へ
Web制作の学習は楽しいものですが、一人で進めていると「これで合っているのかな?」と不安になることもありますよね。
僕も独学でWeb制作を学んできましたが、今思うと「もっと早く知りたかった」と思うことがたくさんあります。
特に以下のような方は、一度プログラミングスクールの利用を検討してみることをおすすめします。
- 学習の方向性に迷いがある方
- 効率的にスキルを身につけたい方
- 転職や副業でWeb制作を活用したい方
- 挫折経験がある方
忍者CODEなら、業界最安値で24時間サポート付きの学習環境が整っています。


関連記事
基本的なアニメーション
スクロール系
メニュー・タブ・ナビゲーション
\どれを読むか迷ったときのおすすめ‼/
フォーム・UI要素
\どれを読むか迷ったときのおすすめ‼/
ボタン・アイコン
\どれを読むか迷ったときのおすすめ‼/
テキスト
\どれを読むか迷ったときのおすすめ‼/








コメント